Basics of Videography
Get Your Color Back
One of the biggest challenges for any underwater image maker is gaining back the color lost due to light being absorbed by the water column. If you don’t compensate for this, then your imagery will look blue and boring. The most common and effective way to solve this problem is through artificial lighting, but this is also very expensive. There are two cheaper ways for videographers to add color back into their footage: white balancing and filters.
- White balancing: This is one of the most crucial aspects of taking successful video. Manually white balancing allows you to tell the camera what color is white, so it can compensate for the colors lost at depth. Bringing a white slate down with you will be helpful. When white balancing, you should ideally have the sun coming from behind you to maximize the amount of sunlight shining on your slate. Every time you change depth, or the light changes, the white point will change, so it’s important to white balance often.
- Filters: Filters are another good way of adding color back into your images. There are filters specifically made for underwater imagery that sit outside the lens, bringing back the warm colors of the reef and making the blue water pop. The Flip 3.1 Filters from Backscatter Underwater Video & Photo are built specifically for the GoPro, since it doesn’t allow you to fully customize your white balance settings. There are different filters for different depths, which easily flip over the lens depending on which is needed.
Backscatter’s Flip 3.1 Filters for GoPro
Getting the Right Shot
Compelling footage isn’t just about turning the camera on and letting it roll. Simply following around your subject with the camera will get boring. Here are some pointers for getting engaging shots:
- Let the subject exit the frame: Seeing a beautiful subject and then letting it swim out the frame takes a certain degree of courage. Sure, you risk the chance of missing some amazing behavior, but by allowing the subject to leave the frame, you have a natural place to cut to the next clip.
- Watch your composition: Just as with stills, the rule of thirds applies to video. Rather than placing your subject in the dead centre, situate it on either the left or right third of the frame.
- Keep clips short: Unless there is some exciting behavior unravelling, a clip should not last longer than about five seconds, and often shorter.
The Key Factor
Perhaps the most important part of any video, however, is that you tell a story. There should be a beginning, middle and an end. That’s what will separate your film from just a bunch of nice moving images. A good story involves no technical skills or equipment at all—just a great idea.
Framing the Shot
The first element to consider when taking any video shot is how it is framed, or where the primary subject is located in the frame. Your initial instinct may be to position the subject in the middle of the frame. While this may feel right, a number of shots in a sequence filmed this way will result in a visually dull video. A common rule of thumb followed by photographers and videographers is the “Rule of third”
This is done by dividing the frame into thirds, creating nine equal sections. By positioning compositional elements at the points where these lines intersect, you will create a more balanced composition that is interesting and pleasing to the eye.
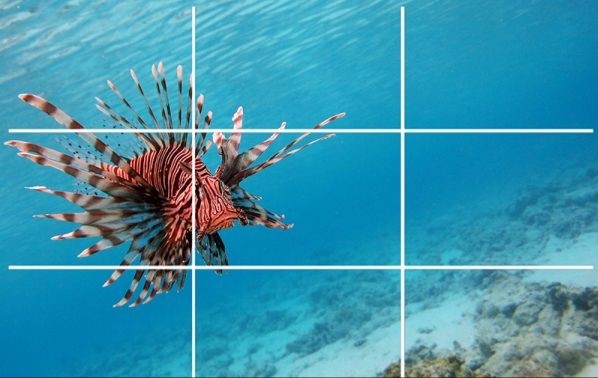
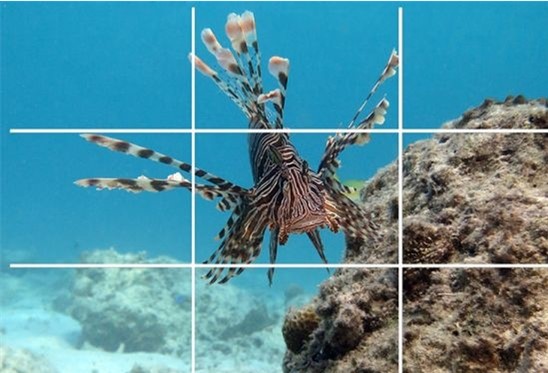
By repeatedly centering the subject in the middle of the frame, our videos will lack interesting composition.
By following the rule of thirds to position the subject on one of the line intersections, you can create a more compelling and engaging shot.
Leading the Subject into the Frame
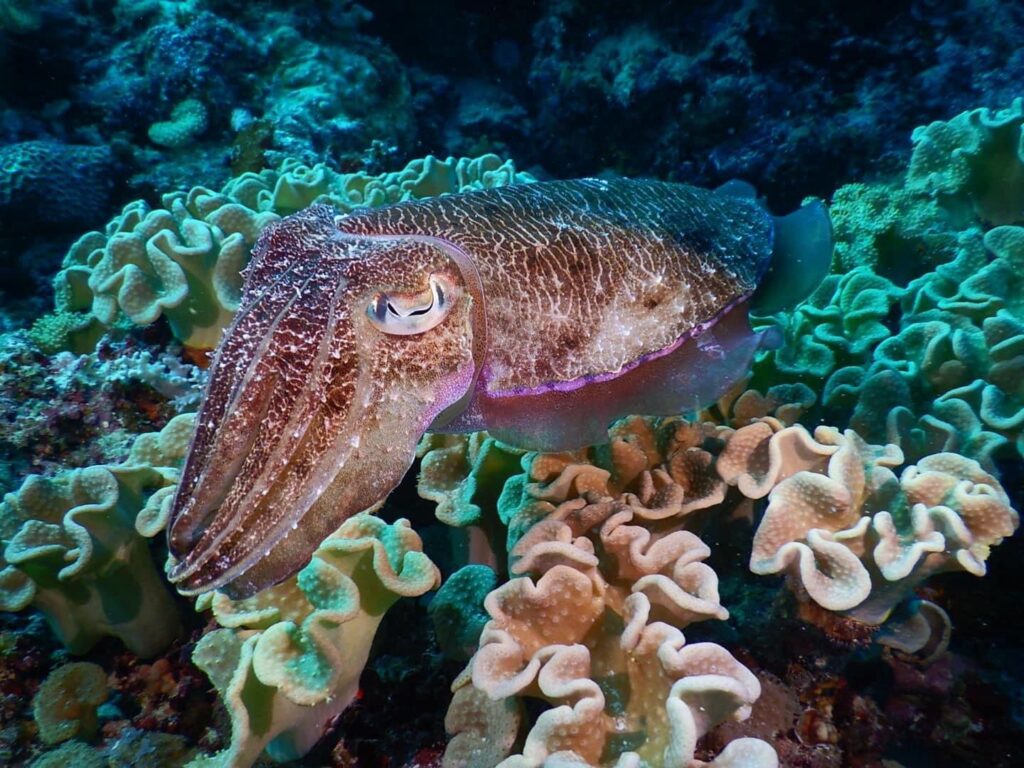
When shooting video of marine life, it’s best to have it facing the frame. A frontal or side view shot works best. Nobody wants to watch a video of fish tails swimming away from the camera.
If there is any action in your shot, leave more space on the side of the frame where the action is headed. This will let the viewer have a feel of where the subject is going and become compelled to see what comes next.
Filling the Frame
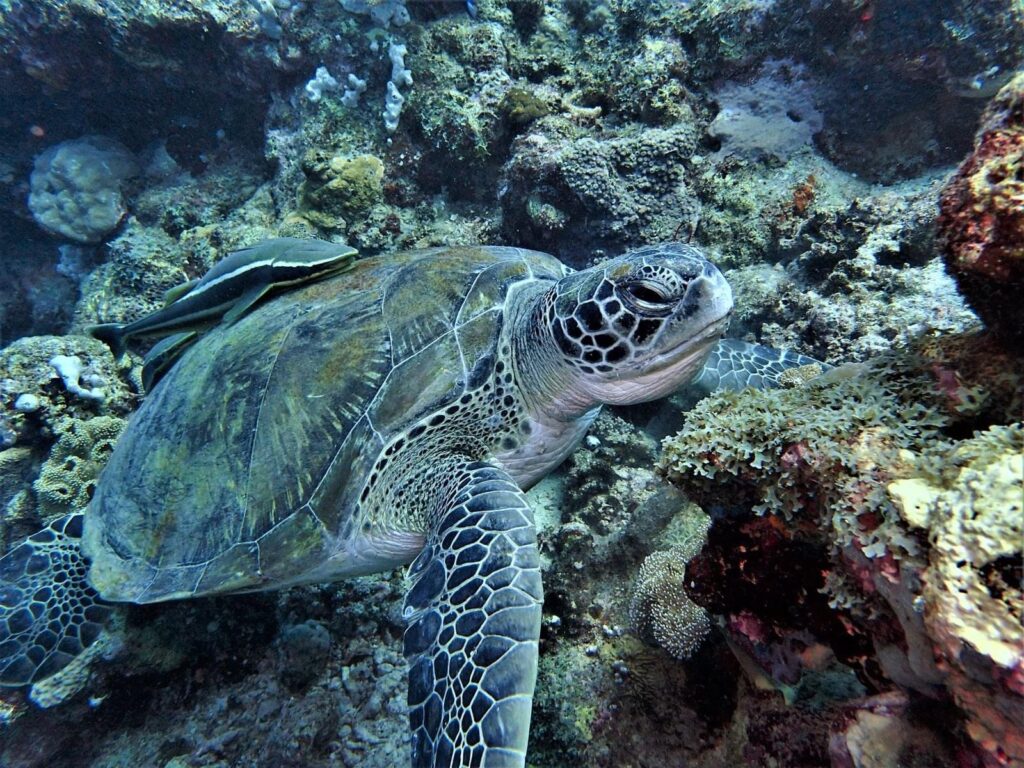
Leaving too much empty space in a scene is often a mistake, especially when shooting smaller marine life. It may create a shot in which your subject is swallowed by its surroundings and may leave viewers confused about what they are supposed to be watching.
To avoid this, you could zoom in to fill the frame, or get as close as you can to the marine critter in question. When zooming, it is easier to exclude what’s shown in the background. Moving closer, physically, can give you a more provocative angle.
Negative Space
The effective use of negative space can add depth to a shot and direct the attention of the viewer to the subject. Negative space is an empty area surrounding the subject in your image. It draws the viewer’s eyes to your main subject and, if executed correctly, may lead to stronger compositions.
When following a sea turtle swimming over coral, for example, it may be more appealing to have negative space around your subject or scenery. The negative space here could be a blue ocean or the water’s surface.
Go Low: Filming at Eye Level
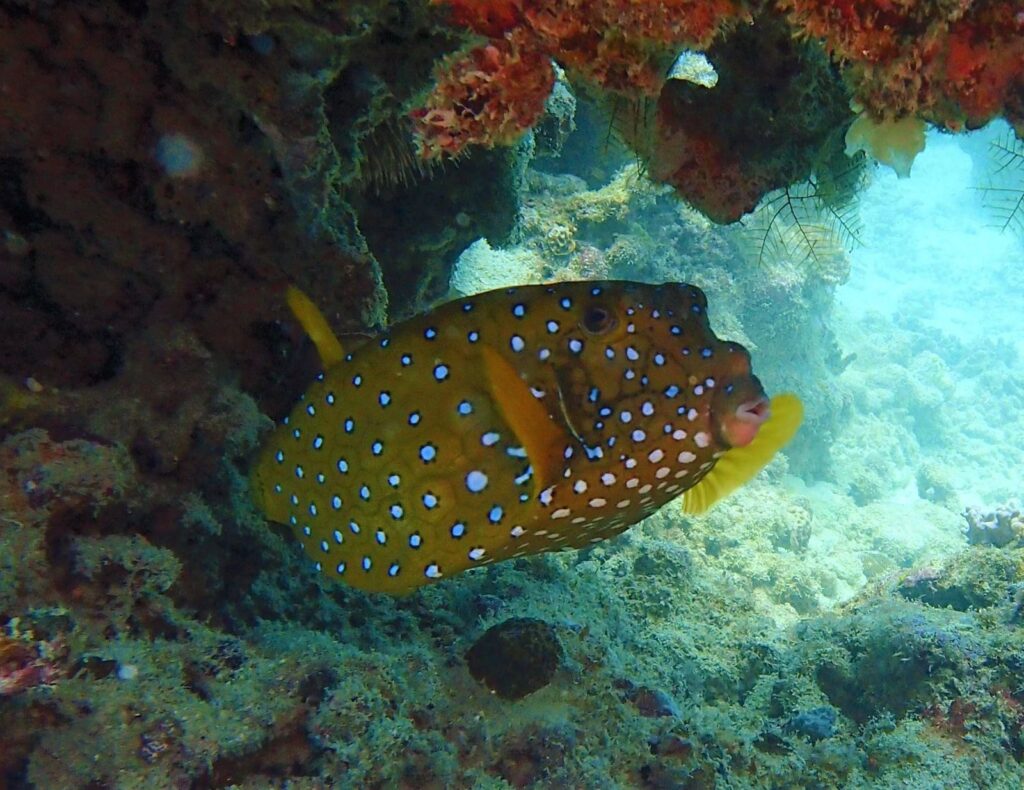
When shooting video of marine life, try to avoid pointing the camera down. Position yourself at eye level or even below your subject. This is a much more interesting angle to shoot from and it will usually create better backgrounds as well.
Foregrounds and Backgrounds
One of the goals of any shot is to focus the viewer’s attention. To this end, you should avoid distractions both in front of and behind your subject. Your foreground and background should complement the subject, rather than compete with it. Often, just changing or lowering your position in the water column is enough to reframe your subject in a way that creates separation between the foreground and background.
Foregrounds
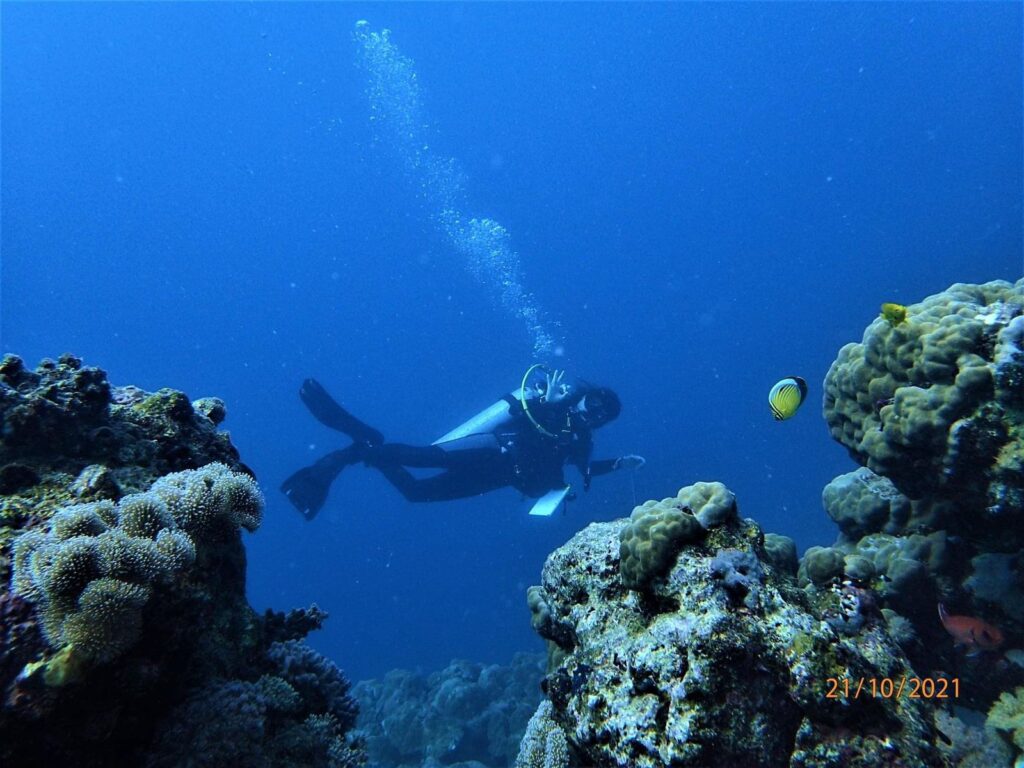
Appealing foregrounds may have some color or action. For the underwater videographer, small reef fish or soft coral moving in the current may be interesting as foreground. An added compositional element could be to add some movement to your shot. For example, you could swim next to your subject while moving past different foregrounds, or even pass through the soft coral in the foreground to reveal your main subject.
Backgrounds
To replace a cluttered background with one that complements your subject, you can also use a wider aperture to focus on a small feature of your subject, leaving the background out of focus. This creates what is known as a shallow depth of field, which will make your background less distracting.
Whatever you choose to do, try and make sure the background is part of the story you’re trying to tell with the shot.
Moving Shots in Underwater Videography
In addition to various types of shot and camera angles, you can also employ camera motion as an effective compositional tool in your videos. When used well, motion can add drama and action to your footage.
Once you achieve good buoyancy control, you can create your own dolly or tracking shots with relative ease and without the need for additional equipment. Underwater camera moves can be used to create interest and convey information.
For example, you could use a flyover shot of a reef to establish the scale of what may be too large to be viewed within a static shot. Movement is also a way of keeping the viewer’s attention and bringing an element of surprise to your work. Avoid using your camera solely in a stationary position. You will probably find that your videos are more interesting when there is some movement in your film.
Underwater Videography Shot Types
When shooting video, you’ll want to vary the types of shots to maximize interest. Both wide-angle shots and close-up shots—taken either while moving or in a static position—should be used to create a variety of compositions.
Wide shots are often used as an establishing shot. They allow the viewer to take in the entire setting and are often the first shot in a sequence. Typically, they include images of the environment, such as a coral reef, shipwreck or shallow, snorkel environment.
Medium shots can be of your entire subject, a cropped portion of it, or a tighter shot of a scene that doesn’t include all of the surroundings. These types of shots will make up the majority of your footage, as they draw focus to the subject while limiting any distractions in the background.
Close-up shots are tightly cropped shots showing fine detail or animal behaviour. Examples of close-up shots would be of small marine life or of certain features of a bigger subject. These shots can be important to your storyline and add a different perspective.
Final Thoughts
Continued practice with framing your shots, depth of field, and the placement of your subjects is the best way to train yourself in good composition. Ultimately, for every rule, there is an exception. These guidelines are just a starting point and are not meant to be adhered to strictly. An understanding of why these rules work is important if you want to create powerful shots. Once you are comfortable filming within the rules, you shouldn’t be afraid to try and find out when to break the rules in order to improve your film making.
Follow our videos on Vega Diver Face Book Page and YouTube channels links uploaded
